Quality, min and max with jpeg-recompress
jpeg-recompress is an application that is used to re-encode JPEG images to the lowest possible JPEG quality that still keeps the perceived visual quality to a certain standard. JPEG uses lossy compression, so there will always be losses when re-encoding the image. The goal is to do the compression while making the image look practically the same after the compression.
There are three important parameters that can be adjusted when choosing how this algorithm works:
-q, --quality [arg]    Set a quality preset: low, medium, high, veryhigh [medium]
-n, --min [arg]        Minimum JPEG quality [40]
-x, --max [arg]        Maximum JPEG quality [95]
Unfortunately, these parameters are barely described anywhere. So in this post I’ll try to do that.
How jpeg-recompress works
jpeg-recompress compresses an image by lowering its JPEG quality, which is usually
indicated by a number between 1 and 100. It does this by attempting to find a target,
which is a number indicating the perceived quality of the image, e.g. 0.9999.
Perceived quality is measured by algorithms such as SSIM. The JPEG
quality for a given target is found by choosing two points, min and max, and then
doing a binary search between them. min and max are also JPEG quality numbers.
The quality parameter is simply a preset for the target value (this is for SSIM):
| Quality | Target |
| low | 0.99900 |
| medium | 0.99990 |
| high | 0.99995 |
| veryhigh | 0.99999 |
The target can also be set manually with the --target parameter.
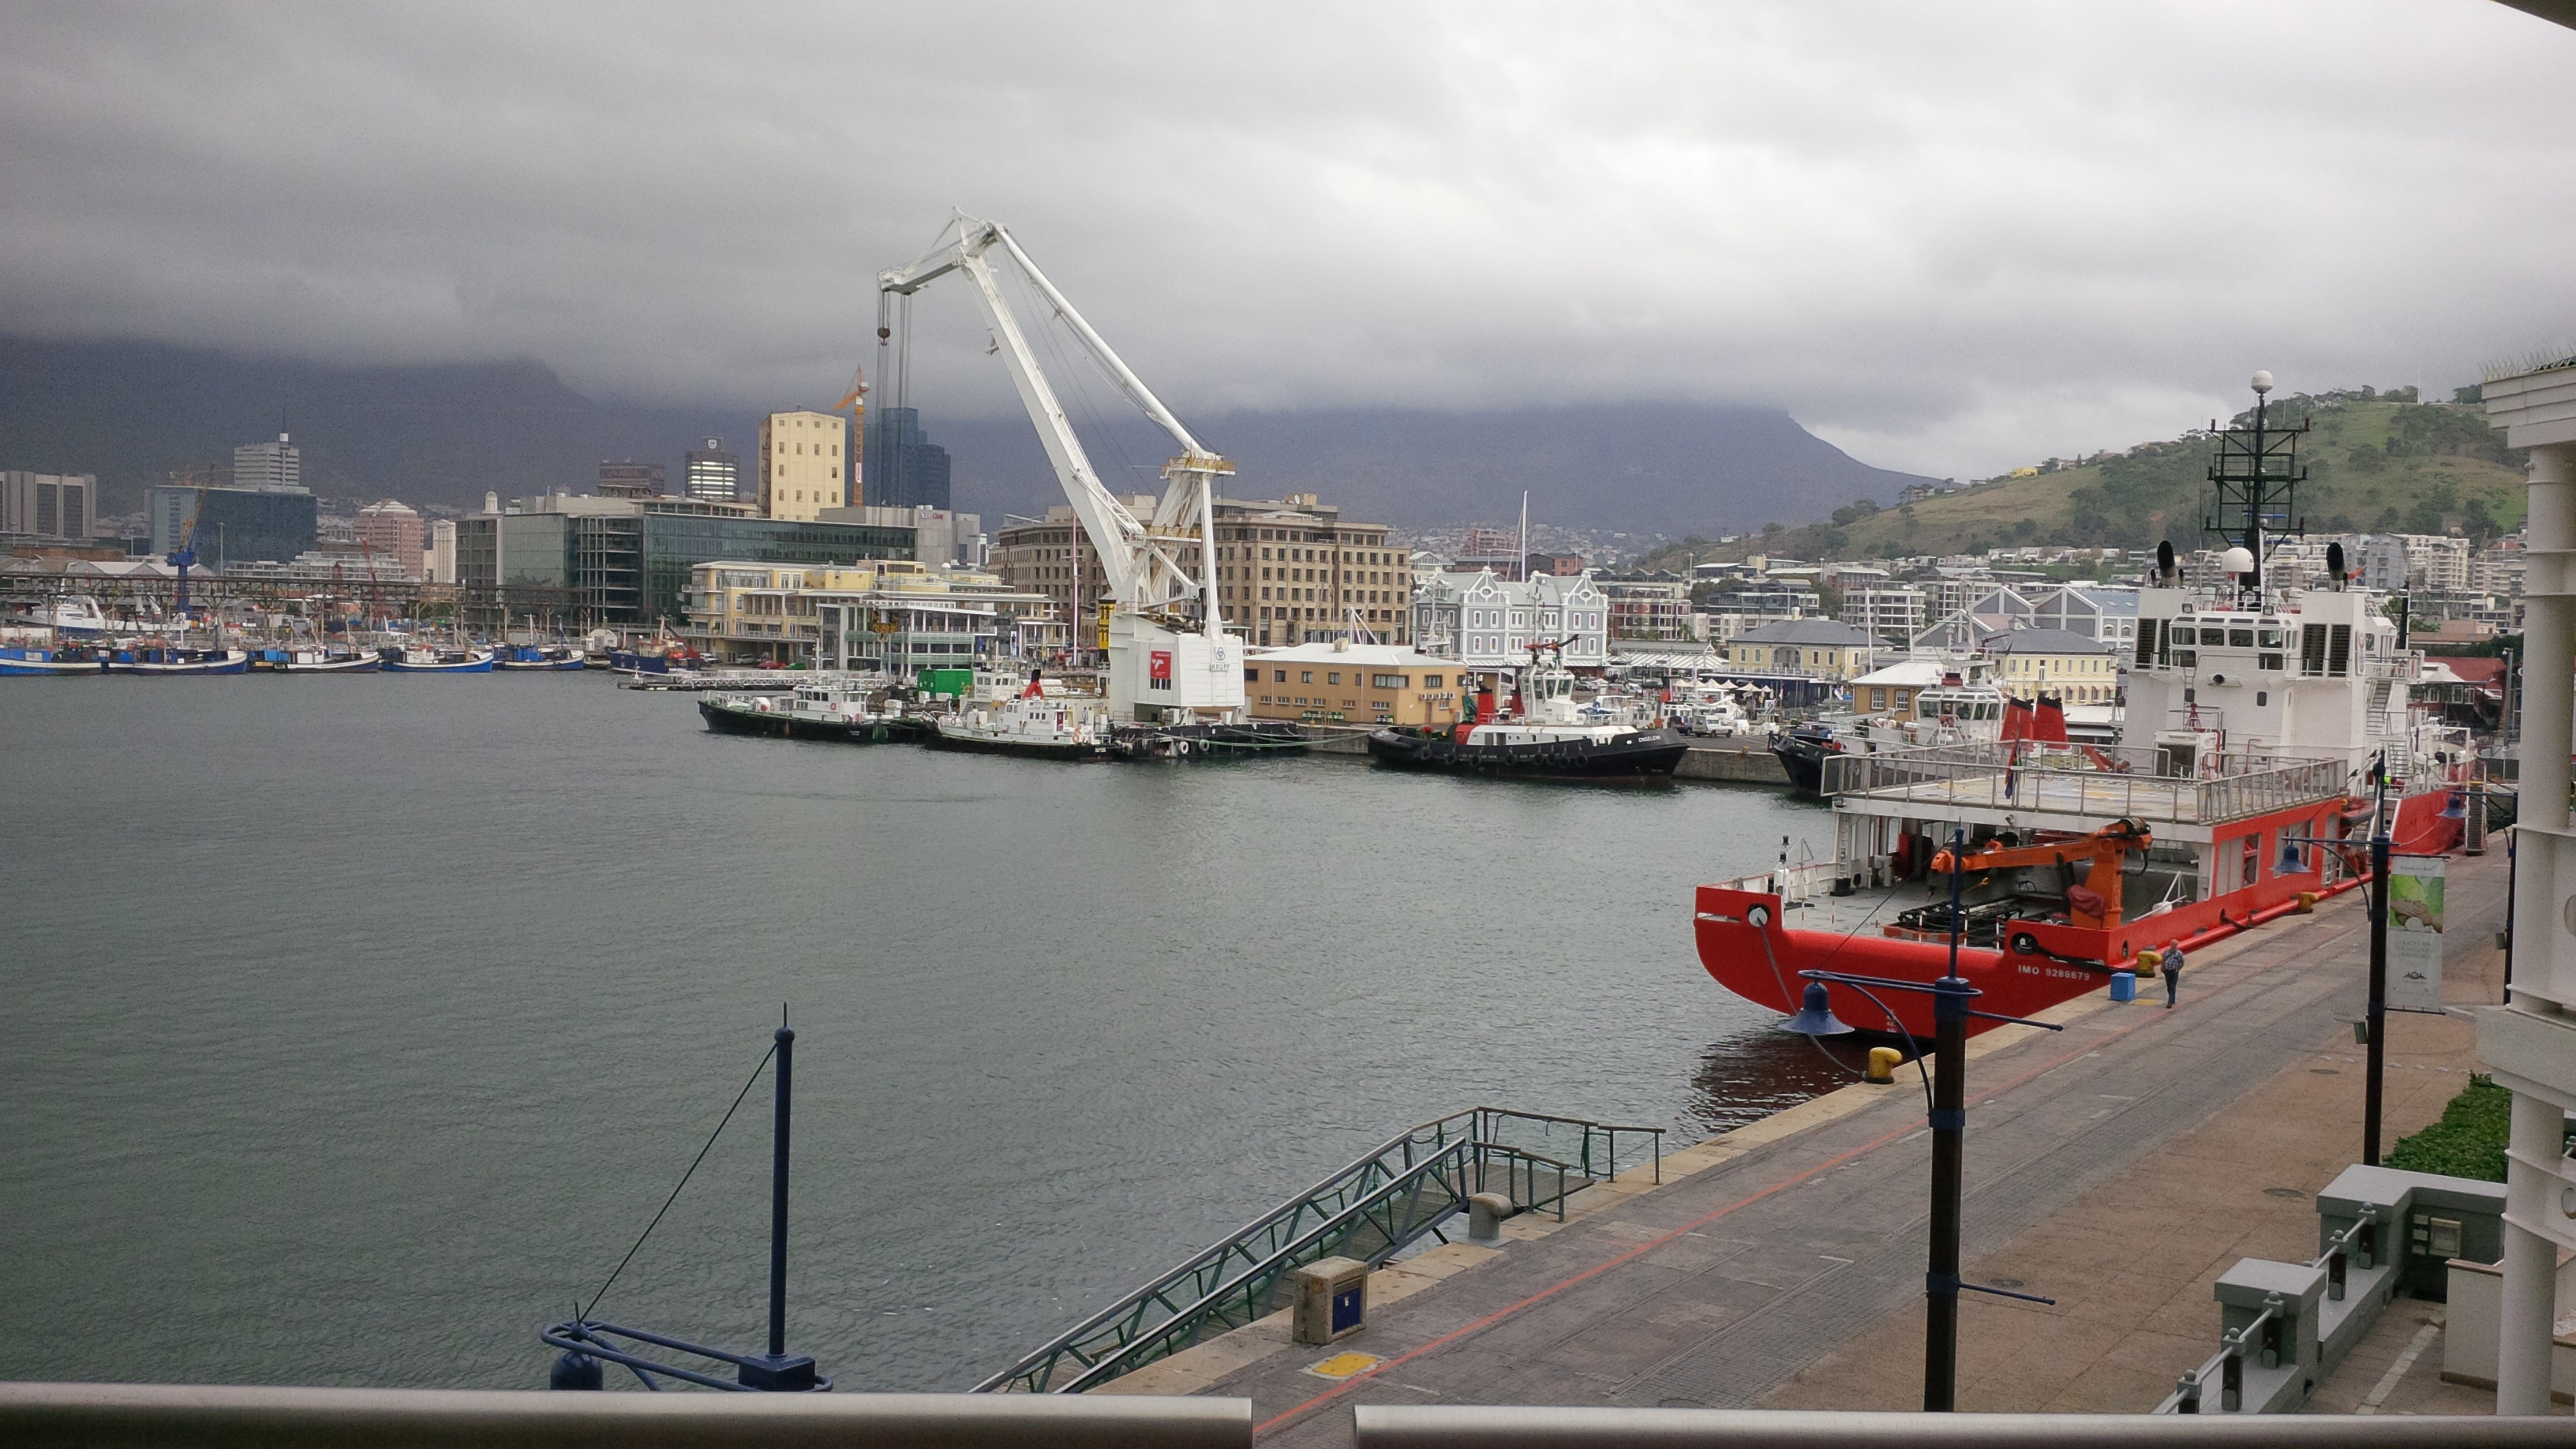
Take, for instance, this image, which is 1.37 MB in size.
If I use jpeg-recompress with default settings (quality: medium, min: 40 and max: 95), I get this result:
Metadata size is 3kb
ssim at q=67 (40 - 95): 0.998795
ssim at q=81 (68 - 95): 0.999508
ssim at q=88 (82 - 95): 0.999826
ssim at q=92 (89 - 95): 1.000000
ssim at q=90 (89 - 91): 0.999959
Final optimized ssim at q=89: 0.999699
New size is 61% of original (saved 537 kb)
We can see here that a search is being done between 40 and 95. First the span 40 to 95 is cut in half with 67 as the number in the middle. The number on the right end is the perceived quality, as measured by SSIM, at the JPEG quality level listed on the same line.
The target is 0.9999. Because 0.9998795 is less than 0.9999 the quality can be increased by continuing the search with the upper half of the initial division, and a new search is done between 68 and 98. This continues until 0.999699 is found at JPEG quality 89. This is the value that will be used to compress the image.
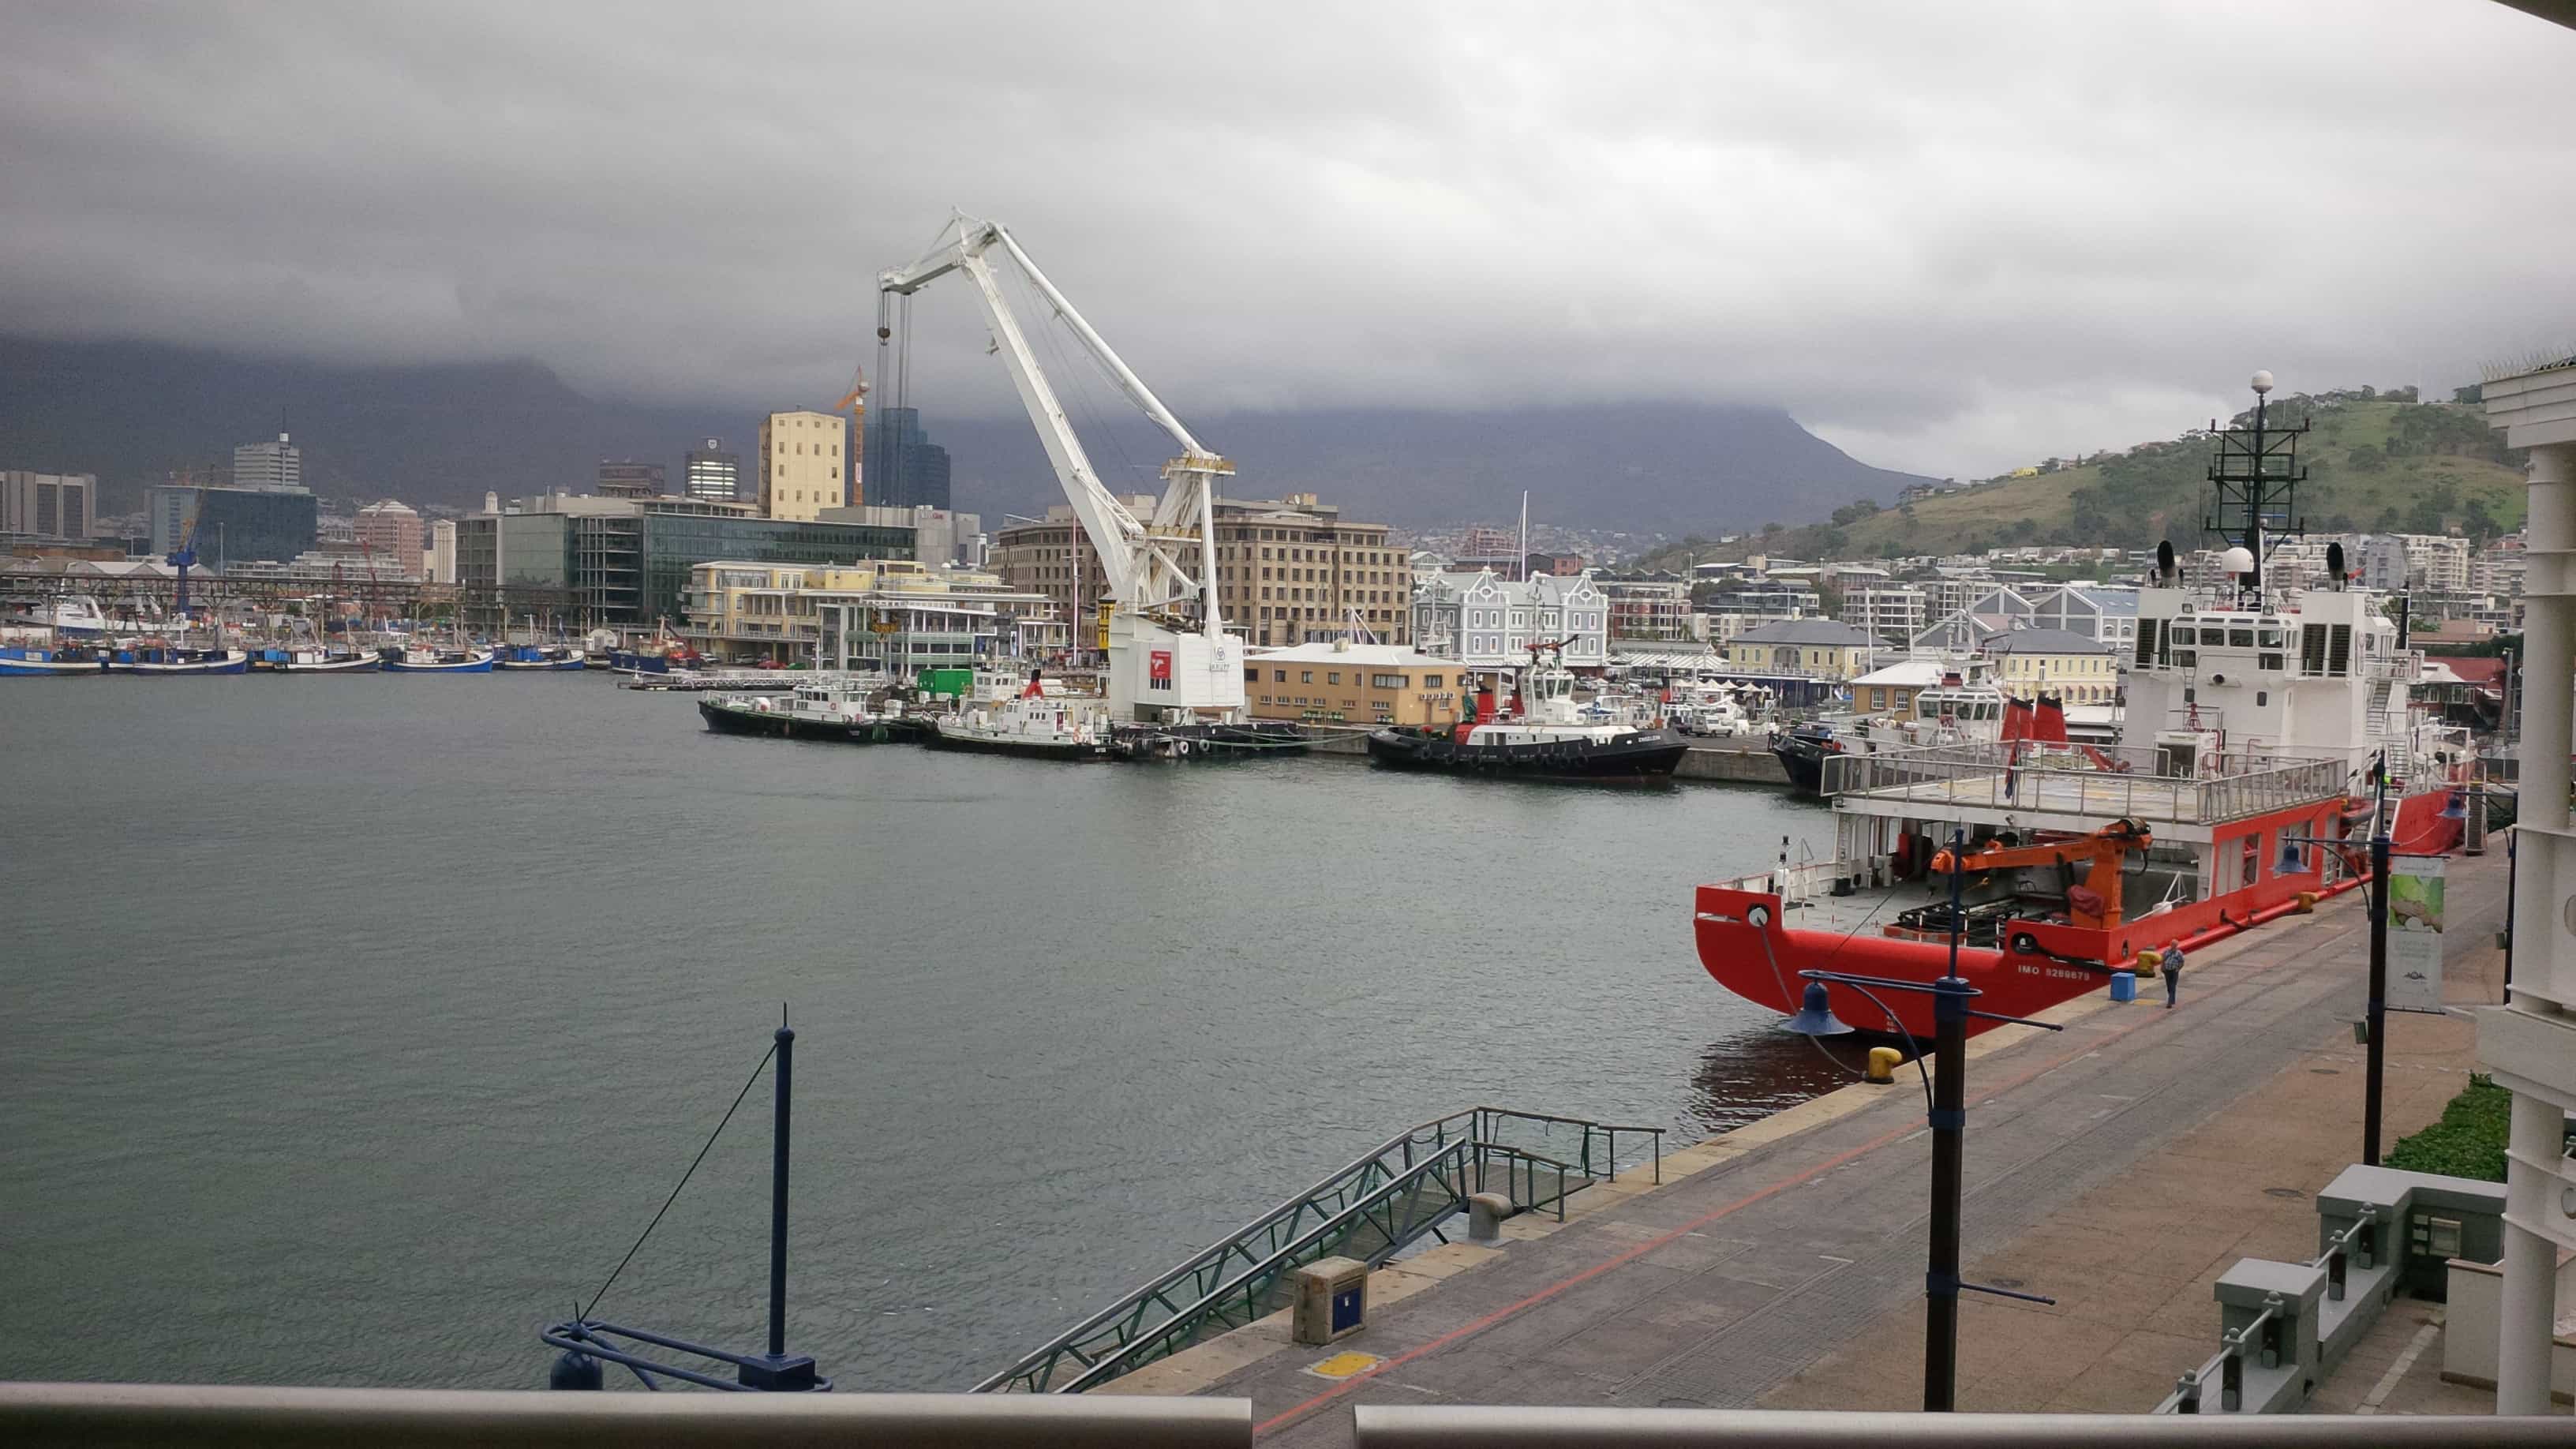
The new image looks like this. The size is 867 kB. Good luck telling the difference between this image and the one above.

Let’s continue with changing the quality to low. Low quality is a preset for target = 0.999.
Metadata size is 3kb
ssim at q=67 (40 - 95): 0.998795
ssim at q=81 (68 - 95): 0.999508
ssim at q=74 (68 - 80): 0.999333
ssim at q=70 (68 - 73): 0.998998
ssim at q=72 (71 - 73): 0.999174
Final optimized ssim at q=71: 0.998779
New size is 30% of original (saved 973 kb)
Like before, the initial search conditions are between 40 and 95. The target that the search looks for is lower than before, so the optimal JPEG quality is now chosen to be 71.
If we want to lower the quality even further than low, we can either set target value manually,
(rather than using a preset) or change the min and/or max values. As mentioned before, we can
set the target manually with the --target parameter. Lets try with the following settings:
target = 0.90000, min = 45 and max = 95.
Metadata size is 3kb
ssim at q=70 (45 - 95): 0.998998
ssim at q=57 (45 - 69): 0.998138
ssim at q=50 (45 - 56): 0.997676
ssim at q=47 (45 - 49): 0.997296
ssim at q=45 (45 - 46): 0.996997
Final optimized ssim at q=45: 0.995933
New size is 17% of original (saved 1154 kb)
Because min was set to 45 it refused to go below that, and the target was never reached. Let’s set
min to 0 and try again:
Metadata size is 3kb
ssim at q=45 (0 - 90): 0.996997
ssim at q=22 (0 - 44): 0.989810
ssim at q=10 (0 - 21): 0.959405
ssim at q=4 (0 - 9): 0.877762
ssim at q=7 (5 - 9): 0.932563
Final optimized ssim at q=5: 0.891700
New size is 2% of original (saved 1366 kb)
So we can see that target is the value jpeg-recompress searches for, while min and max are
saturations that it refuses to go below or above.
Let’s look at how min and max works more in depth. We will use the low quality preset again.
Changing min to 60 and max to 80, for example, will give this result:
Metadata size is 3kb
ssim at q=70 (60 - 80): 0.998998
ssim at q=75 (71 - 80): 0.999334
ssim at q=72 (71 - 74): 0.999174
ssim at q=71 (71 - 71): 0.999167
ssim at q=71 (71 - 70): 0.999167
Final optimized ssim at q=71: 0.998779
New size is 30% of original (saved 973 kb)
We know that JPEG quality 71 was the optimal number for a target of 0.999, and 71 is still
within min and max, so the change didn’t help.
What happens if we decrease max to a number below 71? For example max = 50.
Metadata size is 3kb
ssim at q=45 (40 - 50): 0.996997
ssim at q=48 (46 - 50): 0.997384
ssim at q=49 (49 - 50): 0.997675
ssim at q=50 (50 - 50): 0.997676
ssim at q=51 (51 - 50): 0.997676
Final optimized ssim at q=51: 0.996849
New size is 19% of original (saved 1127 kb)
This will force jpeg-recompress to look for an optimal solution within the range 40-50. The found optimal quality is 51 (should have been 50, but there is a small bug in jpeg-recompress). The target quality was never found, because it reached the max limit before it was found. The image looks like this now and is 267 kB large.
jpeg-recompress can compress the image even further by reducing the max value even more.
min is set to 1 and max is set to 5. The search is now forced to run between two very
small numbers.
Metadata size is 0kb
ssim at q=3 (1 - 5): 0.851791
ssim at q=4 (4 - 5): 0.877762
ssim at q=5 (5 - 5): 0.899344
ssim at q=6 (6 - 5): 0.919418
ssim at q=6 (7 - 5): 0.919418
Final optimized ssim at q=6: 0.911516
New size is 3% of original (saved 1360 kb)
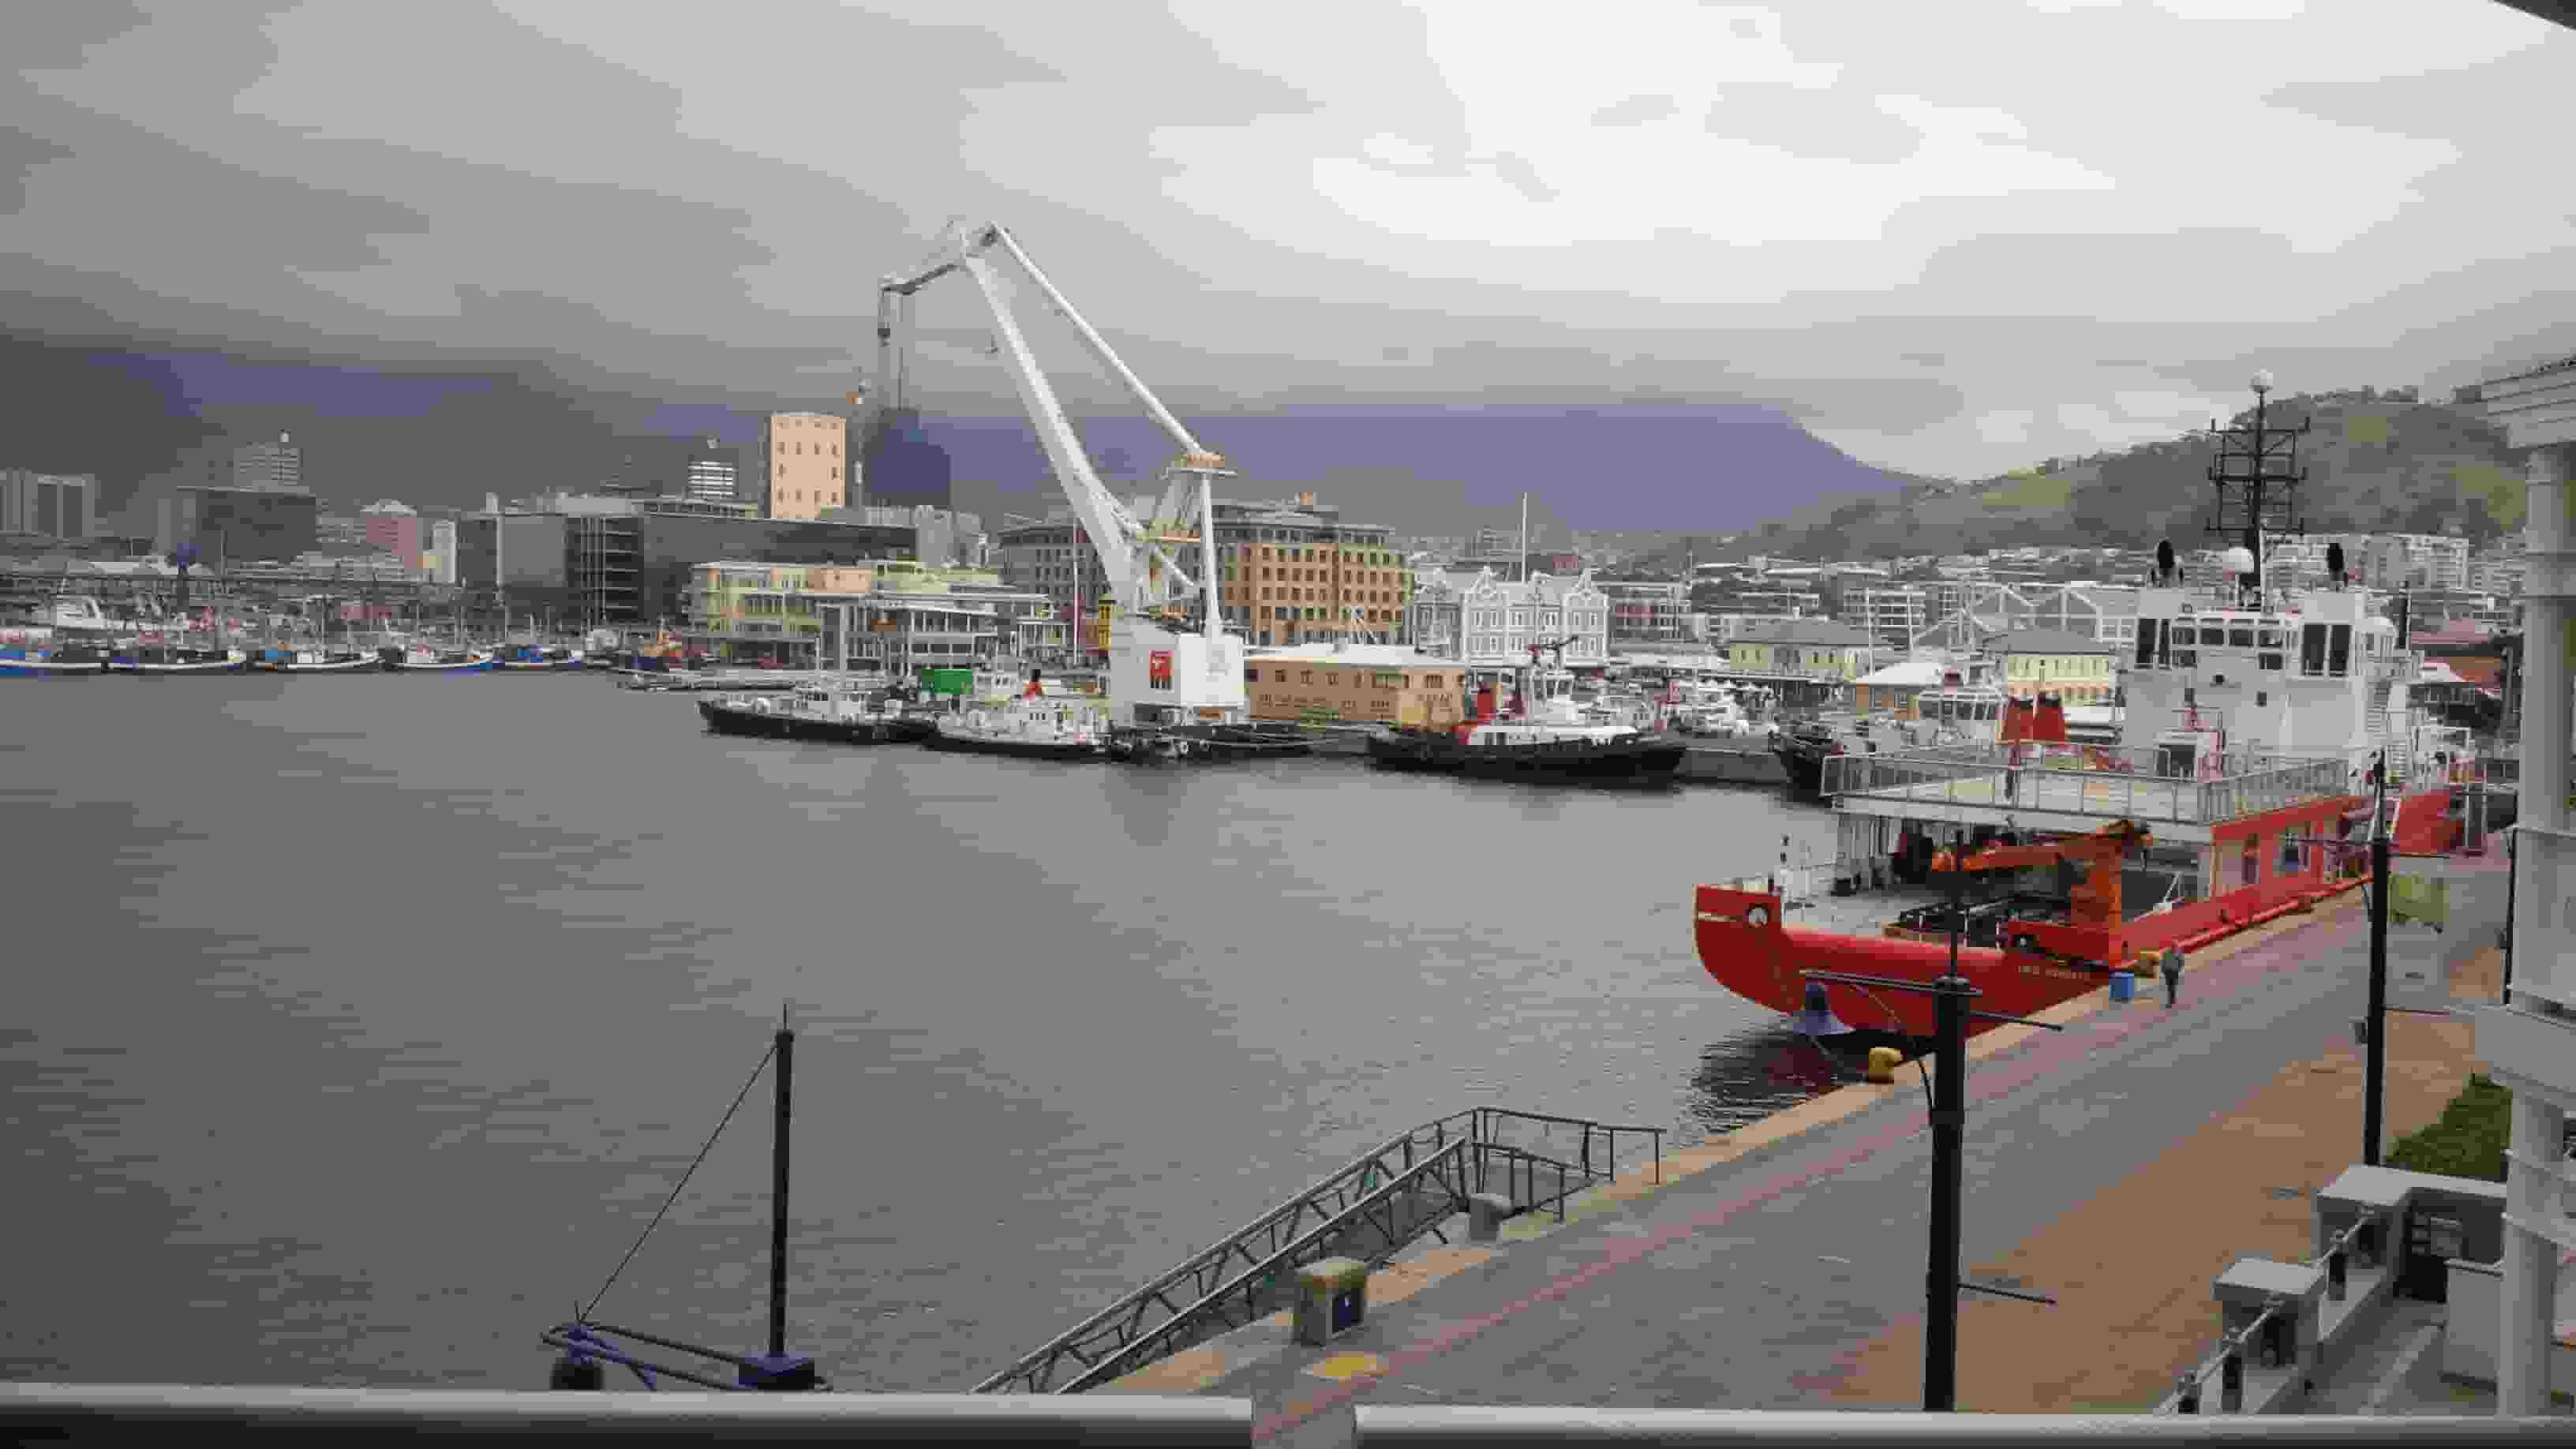
The image looks like this now and is 43.7 kB large. By forcing the max value to a small
number we are able to do fairly heavy compression. From the output above we can see that
the search never came close to the target value. We got 0.911516 but were looking for
0.9999. The image will therefore not have anything near the same perceived visual quality
as before, but will at least be compressed by a large amount.
Tl;dr
- quality sets the target presets for how good the perceived quality has to be when compressing. It will directly influence the quality of the compressed image.
- target sets the target to a specific value if you need something else than the presets. For example if low quality is not low enough.
- min sets the lower limit of the binary search. The quality of the compressed image will never go below this value.
- max sets the upper limit of the binary search. The quality of the compressed image will never go above this value + 1.
- to get heavy compression, below what the default values provide, you can either set
the target manually (below what low quality provides), or set
maxto a small number.